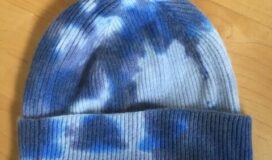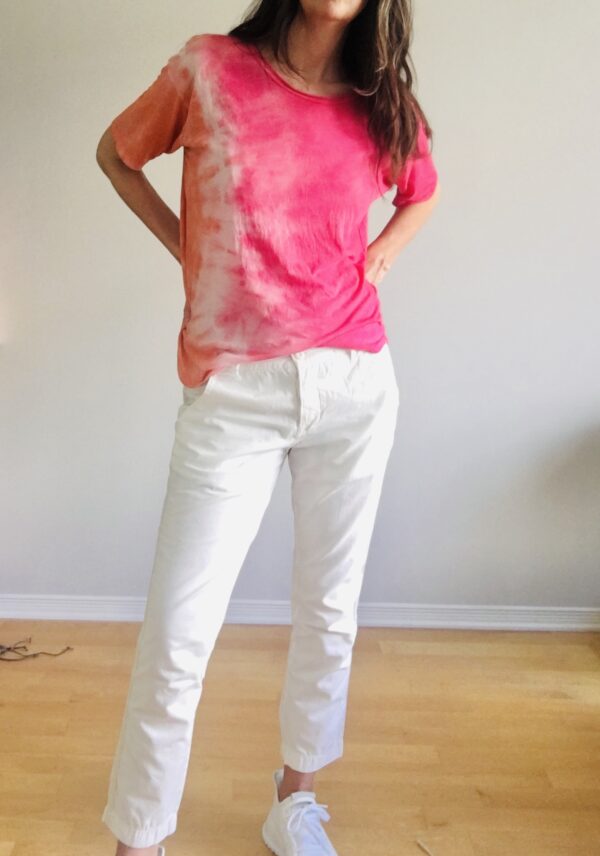
I posted this fuschia & tangerine tee-shirt that I created on Instagram and lots of people liked it. I was asked to share how I made it so I created this this step-by-step ‘how to’. If you want to add some life to a plain white tee, this is an easy way to do it. Just follow along with these instructions. Good luck! I would love to see a picture of your finished creation!
Note: I filmed a ‘how to’ video of this, and, well, let’s just say it had a lot of issues. So I decided to scrap it. I will , however, create new videos in the future with new projects. It’s not as easy as the You-Tubers make it look! Okay, back to it
Set aside about 1-2 hours to create. You can also find full instructions on RitDye.com.
Instructions: Side Tie Dye Top
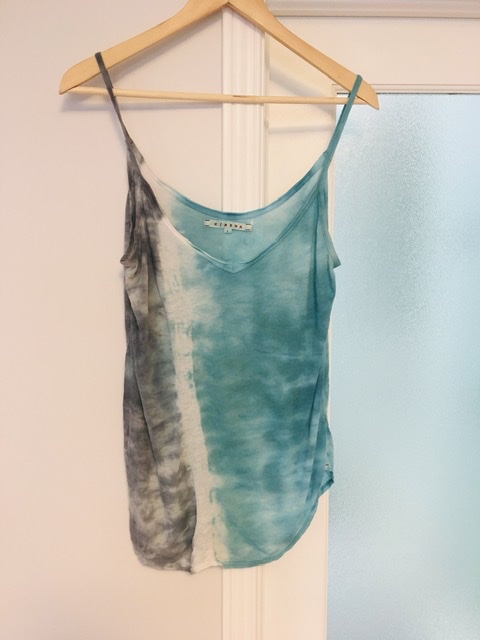
- Pick a white garment to dye. Make sure it is washed with little to no stains. I chose a paper thin crew neck white Xirena tee that I had in my drawer. I wanted to give it a little life with some colour
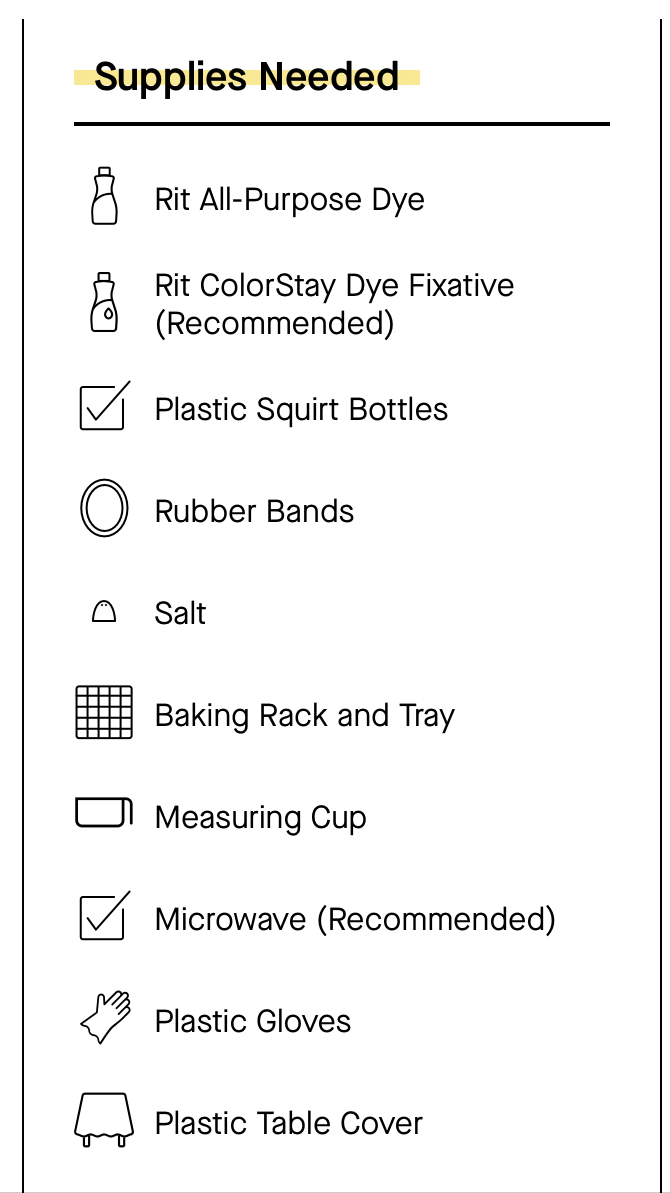
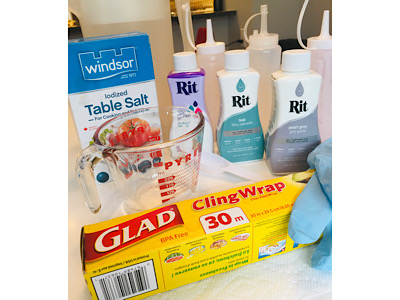
- I decided on the squirt bottle technique, which is exactly as it sounds. Here are the supplies that you will need:
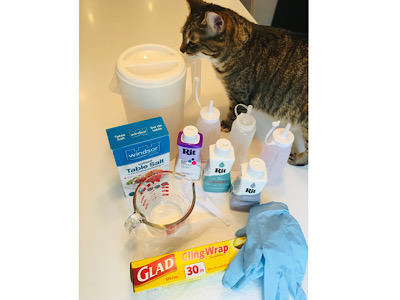
STEP 1: Prepare Tee
Dampen it ; get it wet then ring out. We just want it damp to absorb the dye better.
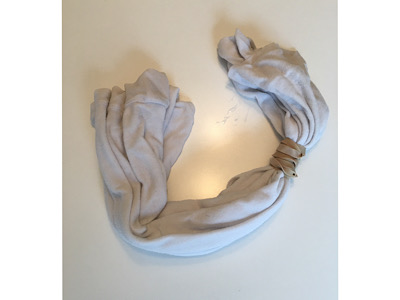
Put on your elastic bands. These will maintain your white space that you would like to keep. The more you use and the tighter they are, the more white space, and brighter white you will retain.
> # elastics = more white space
> tightness = > whiteness
Put on your rubber gloves
STEP 2: Mix your dye:
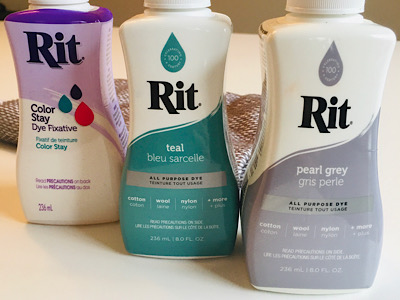
- Shake your dye very well
- Mix 2tbsp of dye with 2 cups of water
- Add 1tbsp of salt
- Mix well and pout into squirt bottle
- Place fabric on your in sink rack or your baking rack (to allow the dye to drain and not puddle on your garment)
STEP 3: Squirt dye on fabric
- Let sit for 30 minutes to let dye absorb
STEP 4: To set dye
- Mix 2 tbsp of well shaken Colour Stay with water into squirt bottle
- Apply RIT Colorstay Dye Fixative with squeeze bottle to enhance the colours and reduce bleeding
- Apply liberally to both sides
STEP 4: Apply Heat
- Wrap in plastic wrap, Seal the edges. Place on paper towel in microwave
- Heat 2 minutes (it will puff up)
- Once done, remove plastic and let cool
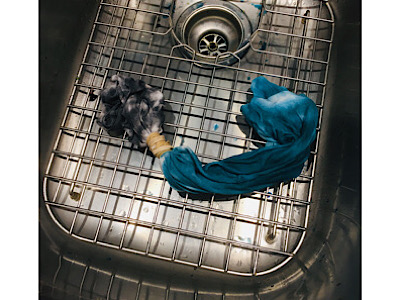
STEP 5: Rinse
- Rinse with cool water until it runs clear
- This is important so that the colours do not bleed unto each other
- Try to run the water vertically so colours do not blend
- Cut rubber bands
STEP 6: Wash
- Wash in cold water with mild detergent, rinse and dry
Voila! Enjoy your new creation, xo Pamela